How to change App Store country or region (new Apple ID or migrate)
To change App Store region: register a secondary Apple ID with the target Country/Region — or migrate your current ID only after gift-card / store credit is $0. Then fill a format-valid billing address, redeem a matching gift card, and subscribe in the official app. Keep iCloud on your daily account.
Updated August 2026
From price to subscribe — do it in this order
Price first, then a secondary Apple ID, billing format, matching network, then the gift card. Follow Apple and the app’s terms.
1.Pick the product and storefront price
Compare the App Store list. Cheaper is not always easier to check out.
2.Create a secondary Apple ID for that country
Keep iCloud on your daily account. Illustrated steps: new ID or migrate after balance is $0.
3.Fill billing with a format-valid address
Copy street, city, and postal code into Apple’s form. Layout helper — not a real home.
4.Check whether this network matches the store
If the exit looks like a datacenter or the wrong country, registration often fails.
5.Sign in on the phone on the same exit
Use the same country node you used to register. Do not mix home Wi-Fi and a random VPN.
6.Buy and redeem a matching gift card
Foreign cards often decline. Redeem the storefront currency onto this Apple ID.
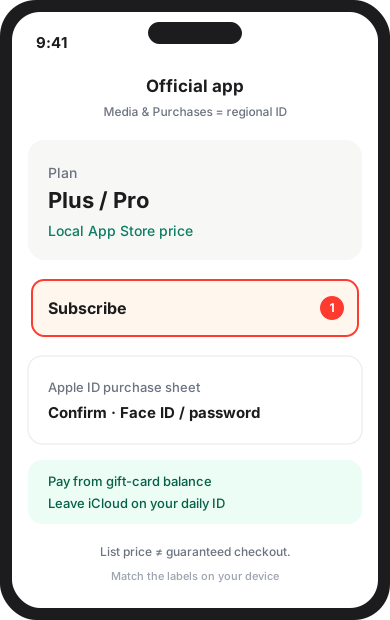
7.Open the official app and subscribe
Pay inside the app on that Apple ID. We do not sell accounts or shared IDs.
Recommended
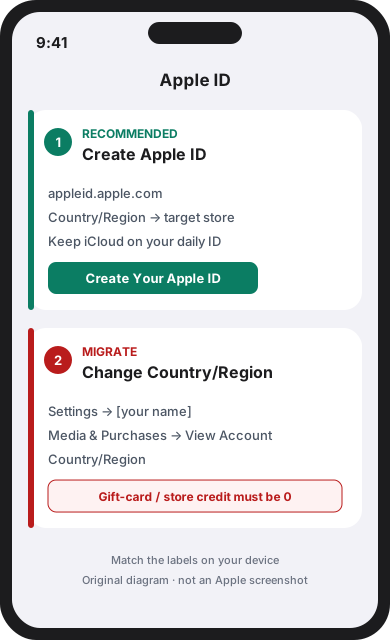
Register a new Apple ID for the target country
Safer. Keep iCloud, photos, and paid apps on your daily account. Create a secondary Apple ID at appleid.apple.com with Country/Region set to the store you want. Then use that ID only for Media & Purchases.
Migrate your current Apple ID country
Apple will refuse the change if any Apple Account balance remains — including leftover gift-card credit. Cancel subscriptions and wait until the paid period ends, then follow the Settings path below.
Prerequisites: if you migrate, finish these first
- Spend remaining Apple Account / gift-card credit. Balance must be 0.
- Cancel subscriptions and wait until the already-paid period ends.
- Wait for pre-orders, rentals, Family Sharing holds, and refunds to finish.
- Have a format-valid billing address for the new country.
Settings → [your name] → Media & Purchases → View Account → Country/Region → Change Country or Region
![Settings → [your name] → Media & Purchases → View Account → Country/Region → Change Country or Region](/guides/switch-region/step-migrate-settings.svg)
Diagrams use Apple’s current menu names (Settings → [your name] → Media & Purchases → View Account → Country/Region). Match the labels on your device; language and iOS version can differ. These are original diagrams, not Apple screenshots.
1. Prepare the Apple ID
Pick one path. Registering a secondary ID is the default we recommend so your daily iCloud account stays put.
To register: open appleid.apple.com → Create Your Apple ID, and set Country/Region to the target store before you continue. Details: the secondary-ID guide.
To migrate: after the checklist is clear, use Settings → [your name] → Media & Purchases → View Account → Country/Region → Change Country or Region.
2. Match the store when you register
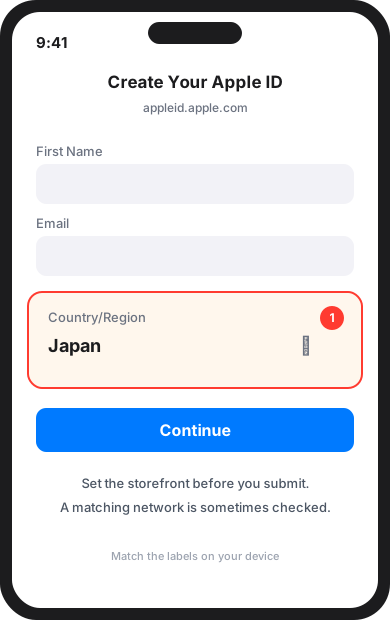
On the Create Apple ID form, set Country/Region to the target storefront before you submit. Do not finish the form on the wrong country.
Apple may check that the network looks consistent with that store. We do not require a specific tool, and a matching network does not guarantee the purchase will go through.
3. Fill billing with the address generator
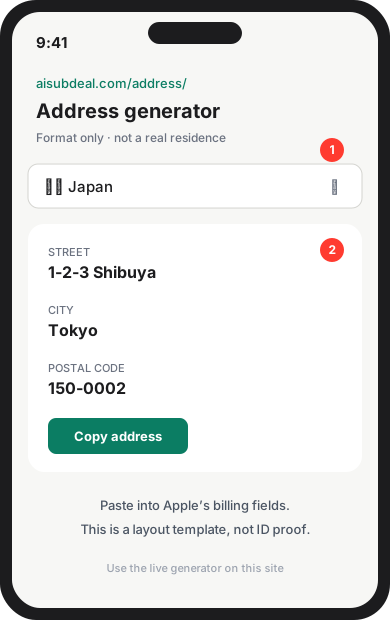
Apple asks for a billing address in the new country’s format (street, city, postal code).
Open the address generator, pick the same country as the Apple ID, and copy the fields. It is a layout helper — not a real home, and not proof you live there.
4. Buy and redeem a matching gift card
Many storefronts decline foreign cards. The usual official path is an App Store gift card in that country’s currency, redeemed onto this Apple ID.
Sign into Media & Purchases with this ID, then Account → Redeem Gift Card or Code. The card country must match the Apple ID country.
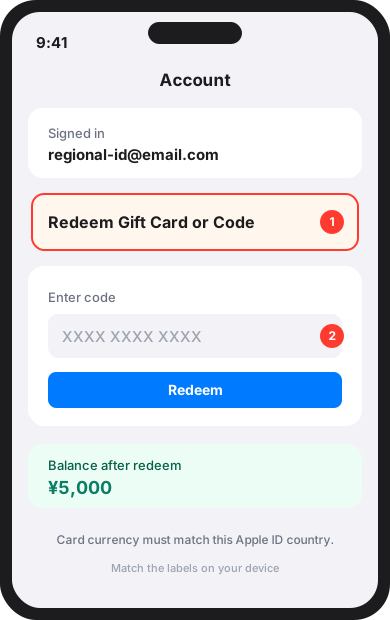
5. Subscribe in the official app
Keep iCloud on your daily Apple ID. Sign into Media & Purchases only with the regional ID (Settings → [your name] → Media & Purchases).
Open the official app, confirm the local currency, and subscribe. Listed regional prices are observations — not a promise that checkout will succeed.